Showing posts with label how to. Show all posts

Wednesday, January 14, 2015

The one with the super easy pompom frame DIY


Today a super easy DIY, that you can whip up in just a couple of minutes. This tutorial was also featured on DaWanda in Dutch. Have you been feeling crafty lately? In case you posted anything cool, please feel free to share in the comments below.


What you'll need:

  • Pompom trim
  • scissors
  • tape 
  • photo's or cards


What you'll need to do:
Cut the trim, for each card or photo you'll need 2 x height and a bit extra, and 2 x width and a bit extra


Place the trim on the front of the card or photo and fold the leftover pieces to the back. Secure all four pieces of trim at the back of your card (or photo) with a small piece of tape


And done! You can hang these with a bit of double sided tape.


Monday, October 27, 2014

The one with the golden sneakers tutorial


On a recent sunday Pinterest session, I came across an awesome pair of sneakers. They were the inspiration for this tutorial. It's a pretty easy one, without lots of supplies needed. 


What you'll need:

  • A pair of sneakers with plastic toes
  • spraypaint
  • tape
  • optional, nailpolish in the same colour as your spraypaint


What you'll need to do:
Start by taping the front part of the shoes, just so that only the plastic part of the sneakers will be coloured when you start spraying them. 


Spray them, my sneakers needed three layers to cover the white up nicely.


Let them dry well, I left the tape on overnight.


And done are your coloured-toed-sneakers. For a finishing touch I added some golden nailpolish to the tips of the laces. To make them extra fancy. 


Have you been making any cool stuff lately? If so, please feel free to share a link in the comments below. In case you're interested in more DIY inspiration, more tutorials are over here


Tuesday, October 14, 2014

The one with a candleholder DIY

There's no denying, summer is over. Time to whip out the hot cocoa, blankets, lots of books, and candles. During a recent trip to the craft-supply-shop, I got a pack of clay (without knowing what to make of it). I'm like a loose canon in a craft store. I go in there, get all excited, and return home with a big bag full of new supplies (but without a plan). When trying to organise my new supplies and the ones I already had, I came across a bunch of studs and for some reason 'candleholders' popped into my mind. Maybe because the colder months are here, and I always want to cozy things up inside the house when those months are here. So I made a candleholder. Here's how:


What you'll need:
  • Clay (I used a quarter of a kilo package)
  • Studs, different colours, shapes and sizes
  • (A thrifted) glass candleholder
  • A sheet of baking paper, to keep your workspace from getting all sorts of messy


 What you'll need to do:

 Form a ball out of the clay

Place the candle holder in the middle of the ball and push it in the clay


My ball had gotten quite wonkey, so it needed some re-shaping

Push in the studs, while the clay is still soft


Let it dry, and ready is your candleholder


Are you getting more crafty in autumn and winter? Changing up things inside your home? Any decorating projects in the works? I'd love to here all about your projects!


Een Nederlandstalige variant van deze DIY vind je op DaWanda


Wednesday, August 20, 2014

The one with the button brooch DIY


Lots of people think of brooches as old lady-accessories. I don't, I love them. In my opinion, brooches are awesome. Perfect to spice up a bag or to give some va-va-voom to a white tee. Oh, and don't get me started on brooches and blazers: a match made in heaven! Preferably a whole bunch of them, and the more bling, the better. And how about pinning one to a chunky chain necklace?


What you'll need
  • buttons
  • pins
  • fast drying glue
  • pliers or scissors, in case your buttons don't have flat backs


Use your pliers or a pair of scissors to remove the backs of the non-flat-back buttons, mine are made of plastic, so this was easy peasy.


Most of the time, I'm a pretty messy crafter, so I used a piece of paper to protect my workspace when I started with this part. Assemble the brooches before glueing away and see which combo works the best for you. After that, let the glueing begin!


Let the assembled buttons dry and after that, glue the pins to the backs.


What's your accessory of choice? Are you a brooch aficionado like me? Have you been doing some crafting lately? If you have a blog post with a cool project, feel free to share it in the comments section below, I'd love to read more about it! If you'd like to see some more tutorials, you can find them here, for example the sharpie plate in the last photo. 


Monday, November 25, 2013

The one with the eye bracelet DIY

One of the things I've been loving for I while now, is the 'Kenzo eye'. This tutorial is inspired by this super awesome print. Another thing I love, is a DIY-project that doesn't need a lot of supplies, tools, or time. For this one, the only thing I needed to get, were beads, the rest was already within reach. This bracelet doesn't take much time to make, you just need a bit of time let the nailpolish dry. 


The inspiration:
source

source

What you'll need:
  • elastic cord
  • blue nailpolish
  • black nailpolish
  • beads, I used white wooden beads, and one in a contrasting colour
  • a bit of glue

Start by making a blue circle on each of the white beads, let them dry

 Make a small black circle in the middle of the blue circle

Start beading away! After the last 'eye' make a knot with the two ends. 
Secure with a drop of glue. Cover the knot up with one of the beads.


Looking for another DIY project?
Previous tutorials are over here

Monday, July 22, 2013

The one with an aztec brooch


What you'll need:

  • bright nailpolish, I used 4 different colours
  • wooden oval, mine was 5 centimeters. I got it from this shop
  • tape
  • brooch pin
  • hobby glue
  • black marker, in the picture is a sharpie, but that one didn't really work as well as I hoped, so I used another one.
  • varnish


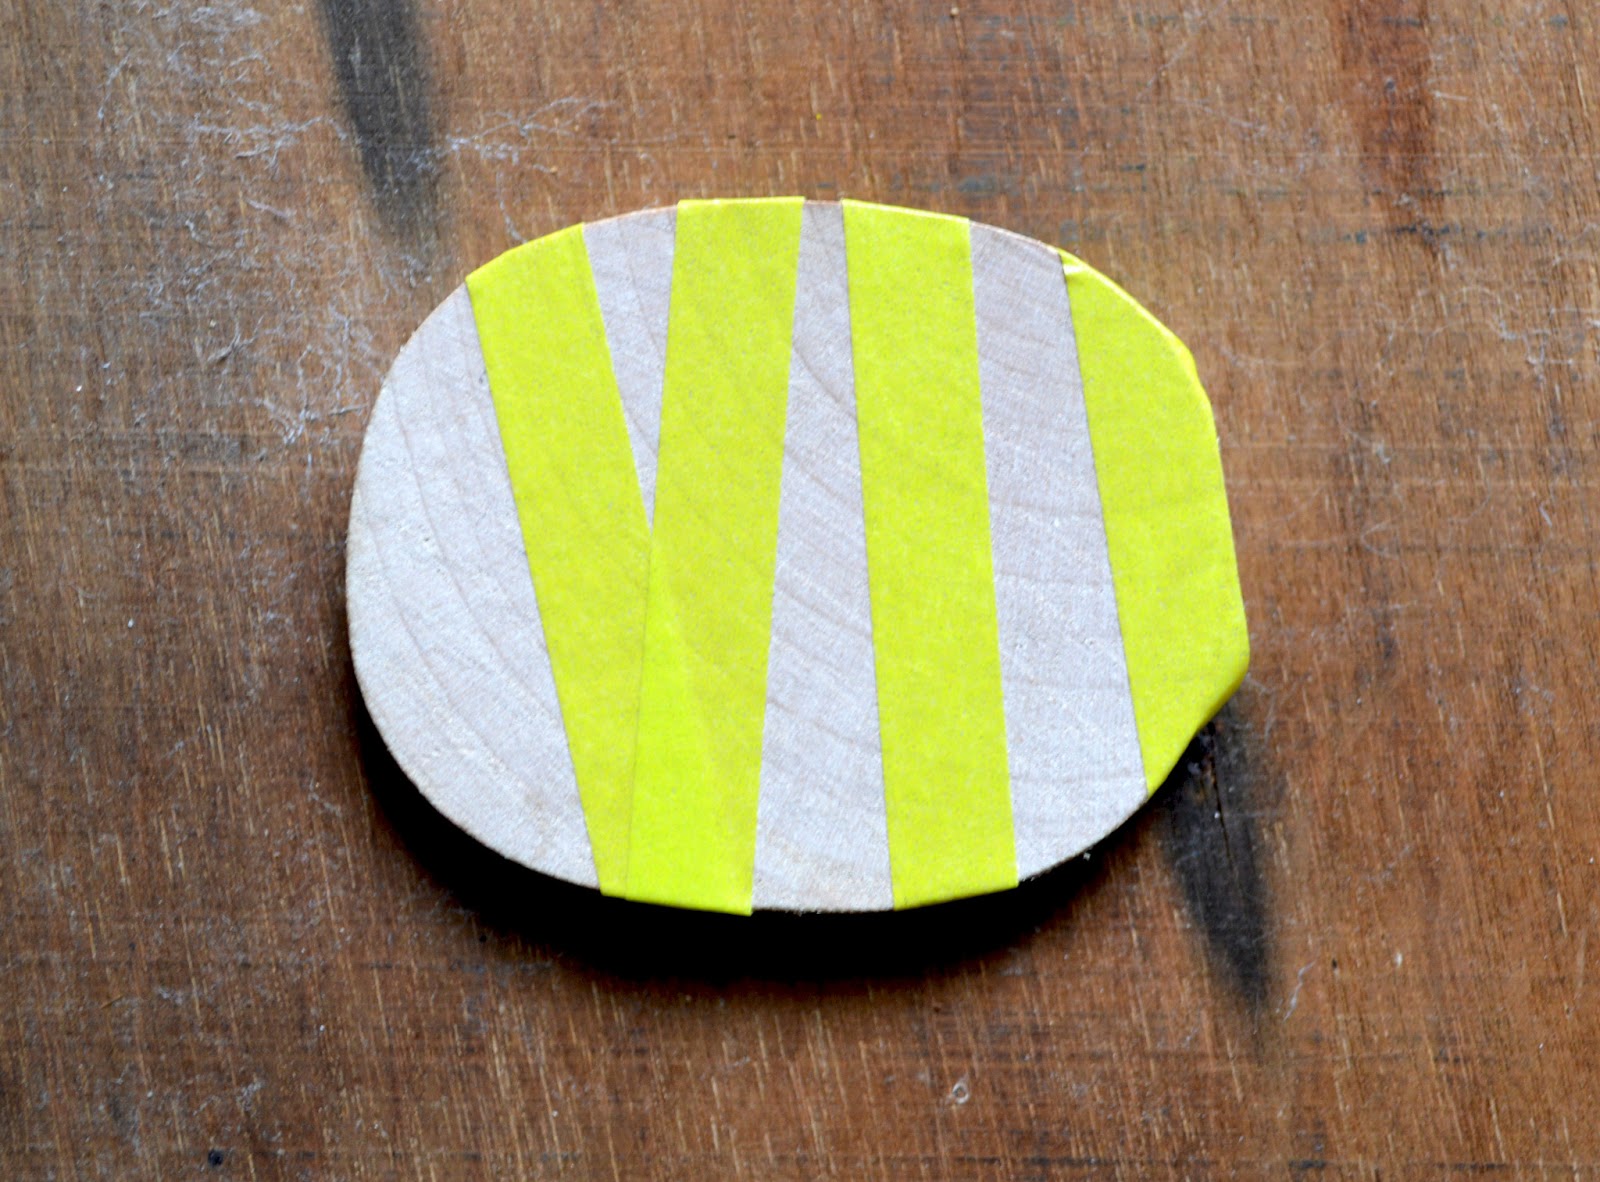
 Add tape

 Paint, I also painted the sides. Each colour was applied three times.

 Remove tape

 Paint some more, I left one part uncoloured

 Glue the brooch pin to the back

 Make patterns with your marker. I finished it with a layer of varnish.